Downloading and Installing Photo Studio
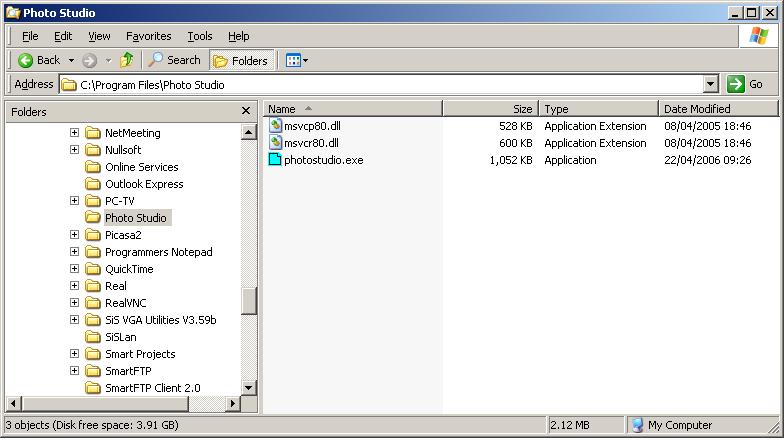
First off, assuming you haven't done so already, you'll need to download Photo Studio. This walkthrough is based on version 2.67, but should still apply with some slight changes to other versions. Assuming you are downloading version 2.67, then you'll probably also need to download the zip file of VC 8 DLLs. For earlier versions this is not necessary (and possibly in later versions I might find a better way round this issue!).
Put the three files - the EXE and two DLLs, all in the same folder on your hard drive. For example:
C:\Program Files\ Photo Studio
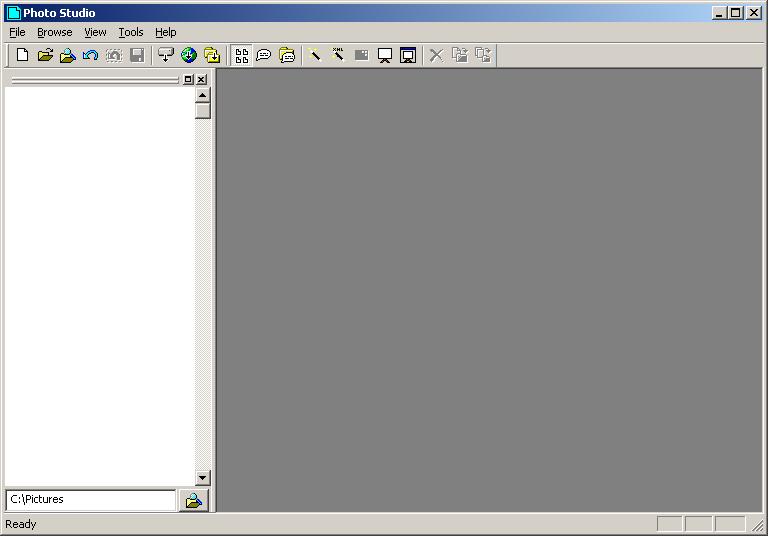
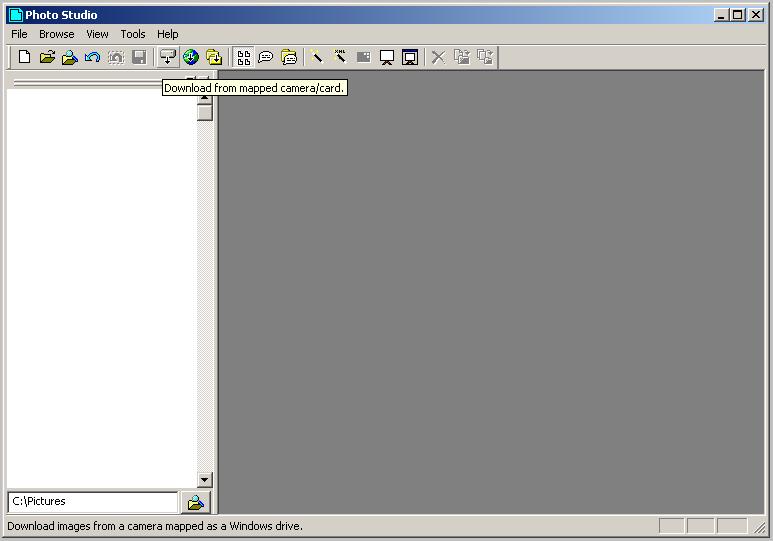
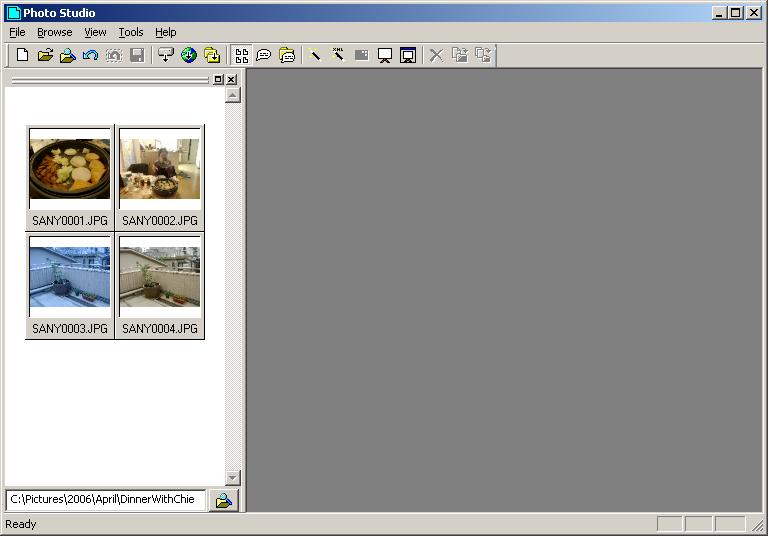
Run photostudio.exe. When the program starts, you should initially see this fairly blank and unininteresting window. The pane over on the left there is the browse window. Photo Studio mainly works on a whole directory of images at a time, and it is this window which will display the current directory of images you are working on. By default it is set to look at C:\Pictures - the chances are this folder doesn't exist yet, so the display is blank.
Downloading Images from your camera onto your PC
(You can skip this bit of the images you want to make a web page for are already on your hard drive...)
One typical way to start is by downloading some images from your camera. Most modern cameras can be mapped as a Windows drive letter (like E: or F: or similar). Alternatively you may be using some kind of USB or PCMCIA device that allows the card from your camera to be connected. Either way, you'll hopefully have access to the incoming images through some mapped device. So, to download these images onto your hard drive, you'll want to click "Download from mapped camera/card" on the toolbar.
The following window should pop up. Assuming the camera / card reader is attached, and is mapped as a Windows drive letter, you should hopefully see it appear in this list.
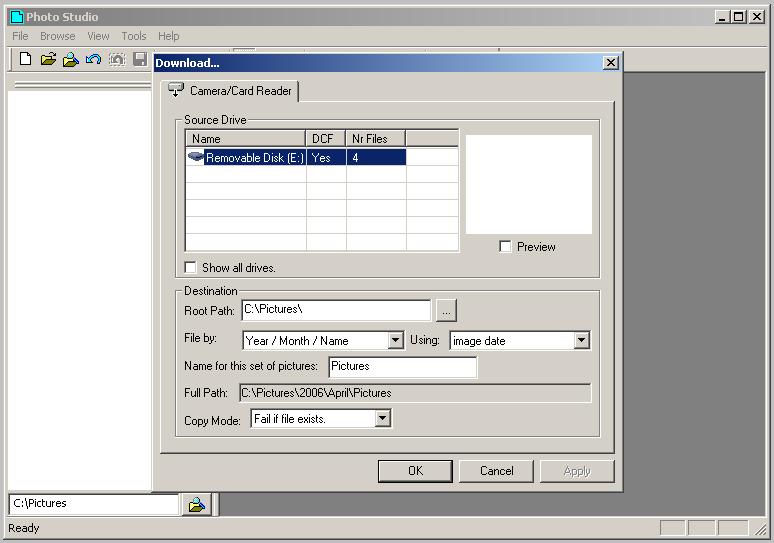
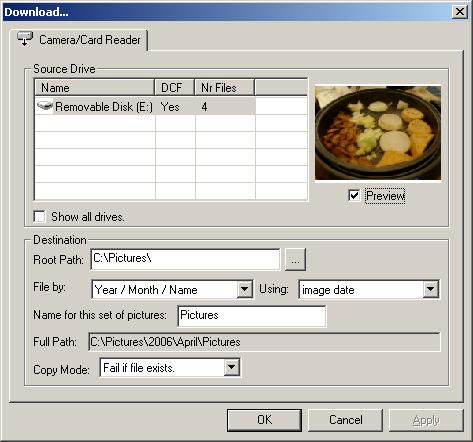
Ensure the "Preview" check box is ticked - this gives you a bit of visual confirmation that you are in fact dealing with the right set of images!
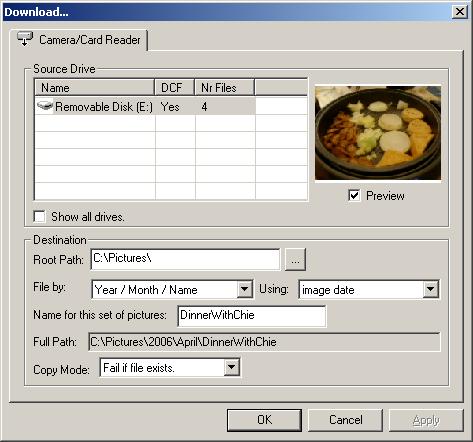
You'll probably want to enter a meaningful name for this set of pictures - this will be used as the name for the folder when stored on your hard drive.
This feature rather cleverly looks at the dates of the images and can help to categorise them on your PC - the default categorisation scheme is Year / Month / Name. So in the case of this set of pictures, taken in April 2006, and given the name "DinnerWithChie", Photo Studio will store them in the folder:
C:\Pictures\2006\April\DinnerWithChie
Click OK on the previous dialog, and the files will be copied. The browse window will then move to look at the new folder (in this case C:\Pictures\2006\April\DinnerWithChie).
Configuring Windows in Photo Studio
There are a number of different windows in Photo Studio, and unfortunately they can be a bit awkward to get into the right configuration. Sorry, I'm not the world's best GUI developer! There are four windows you might typically want to use when creating a web page for a set of images:
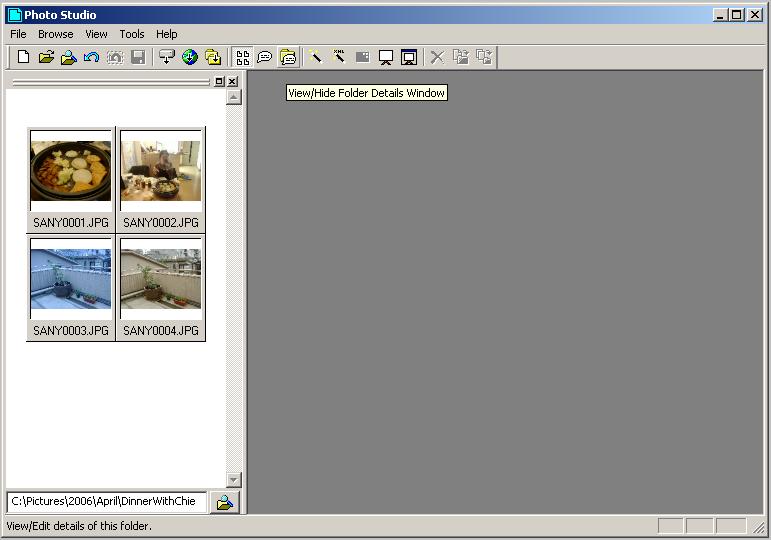
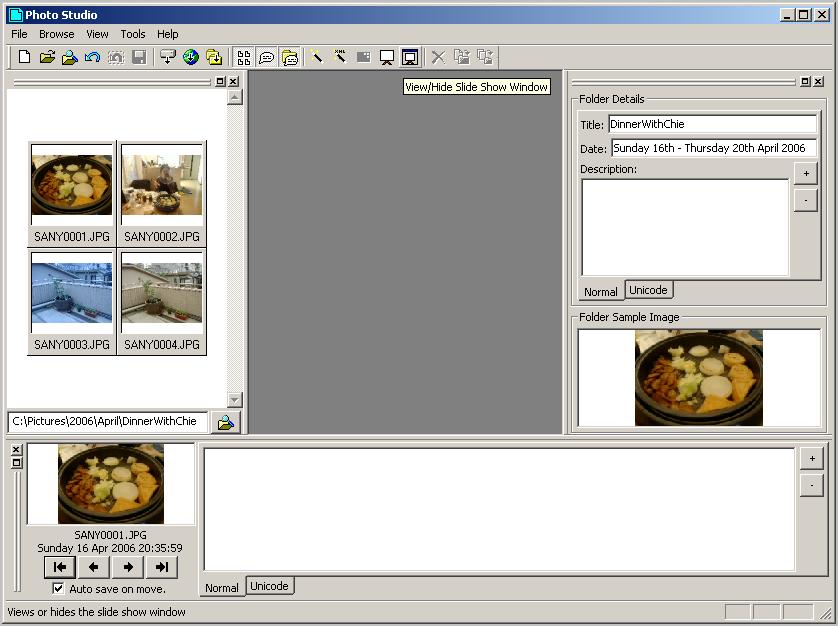
So first off we're going to set up the Folder Details window - this screenshot shows you the button to press on the toolbar. This can also be done via the View menu.
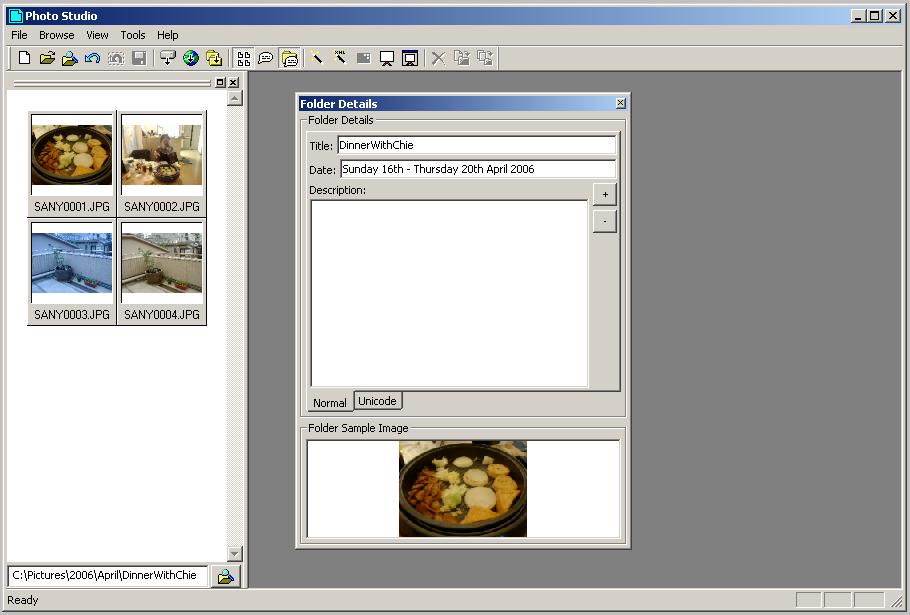
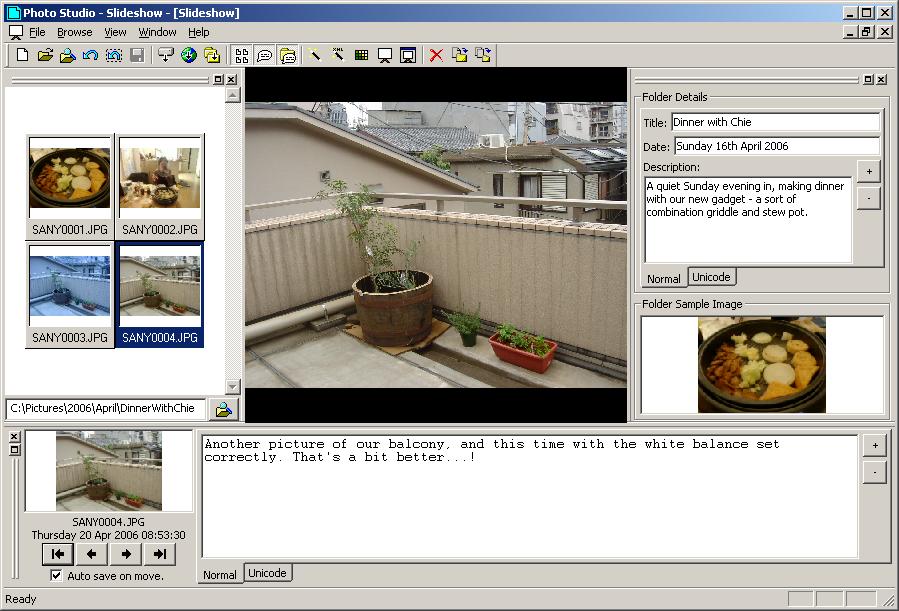
So, first off the Folder Details window.
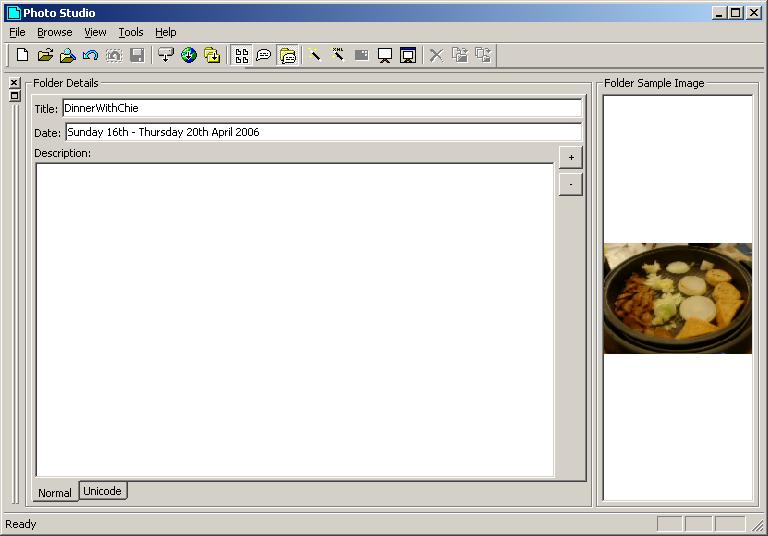
The Folder Details window is used to specify some descriptive fields about the folder of images as a whole - like the title and description. This window also allows you to set a date and sample image for the folder (you'll understand later why this is useful). When you first open an image folder in Photo Studio, the program will attempt to calculate some of these fields automatically. If the images have EXIF information, the date will be taken from there. The program will also pick out the first image it finds in the folder as a default sample image (you can change this later though).
Unfortunately, when you display the Folder Details window for the first time, it doesn't position itself so elegantly! To solve this you'll need to double click the gripper bar on the left hand side (the two vertical lines), and it should change from a docked window into a floating window.
Here's the Folder Details window displayed as a floating window. You may wish to keep it that way, but I personally prefer to work with it docked. Unfortunately it can be a little bit of a pain getting it docked exactly where you want it!
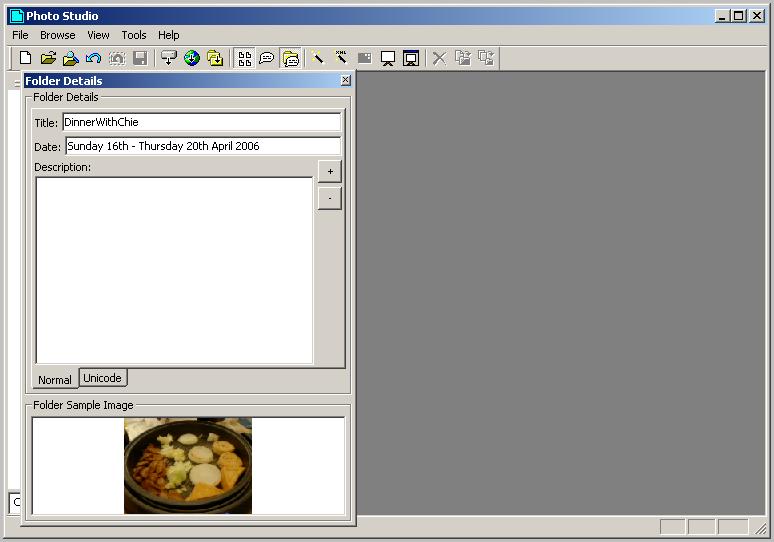
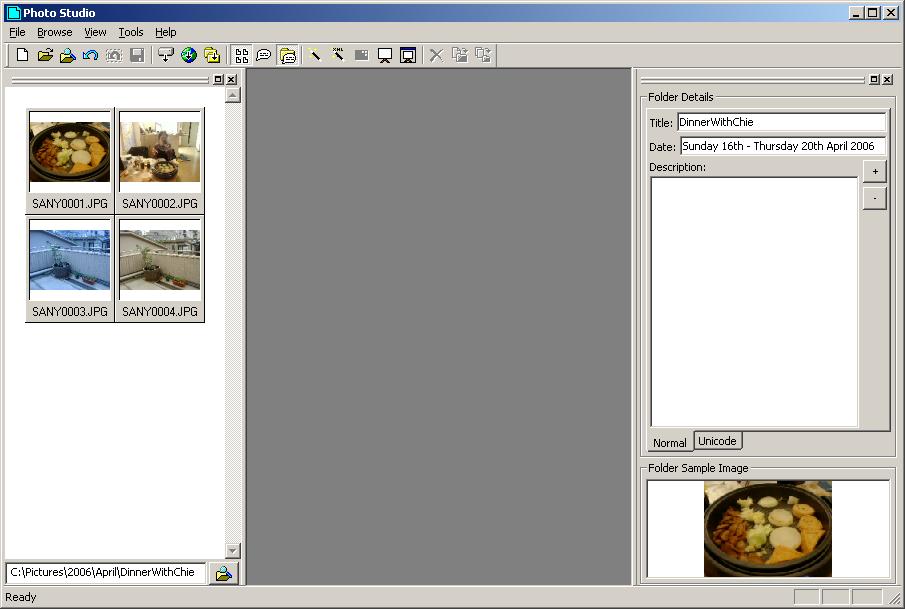
The trick is to resize the main window so that the inside (dark grey) area is bigger than the floating version of the Folder Details window.
Then you drag floating window over to the right, and hopefully you should be able to get it to dock nicely as shown here.
Next the Comment Editor window.
This is used, funnily enough, to edit comments. It is designed to make editing comments for a whole set of images as quick as possible.
Again a button on the toolbar, or an option in the View menu can be used to display this. This tends to behave a little better...
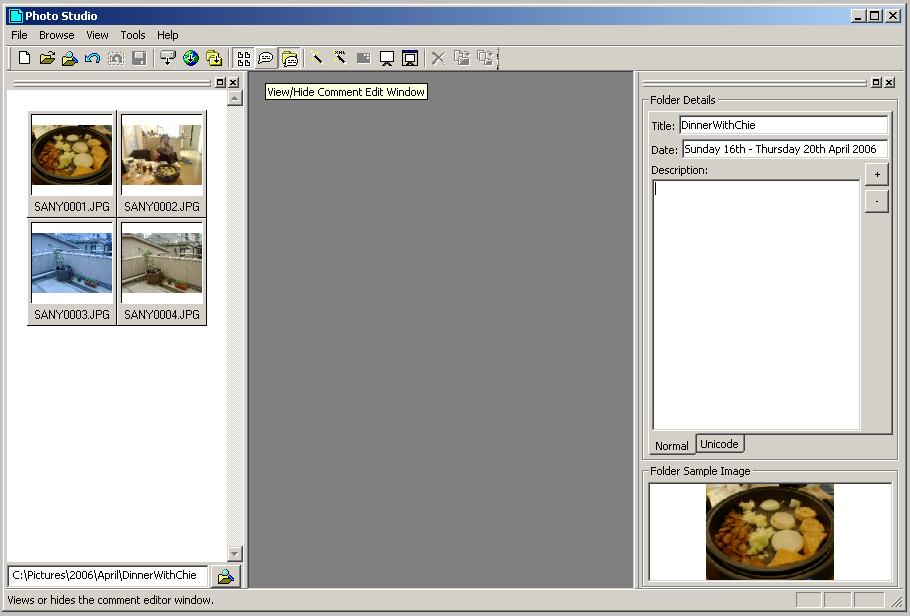
...so hopefully it should just pop up along the bottom of the screen first time. This might make a bit of a mess of the Folder Details window though...
...so you may want to adjust the size of the main window, and some of the other docked windows a bit, to get it just right.

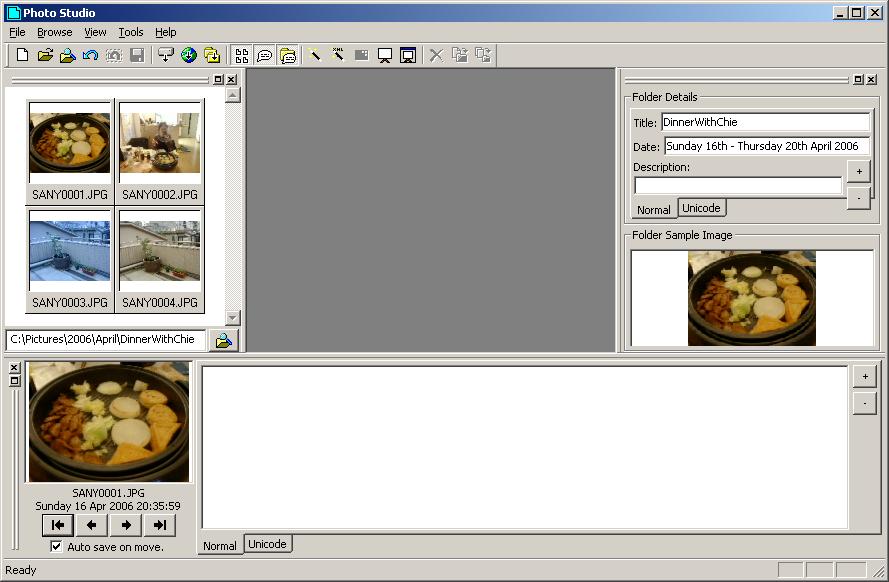
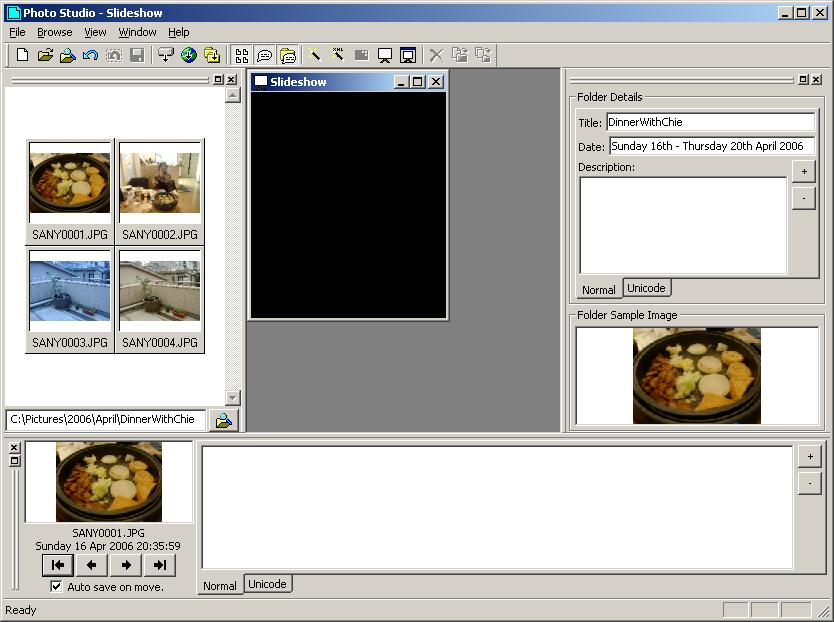
Finally the Slideshow Window
This can be used to give you a larger display of a single image at at time. Conveniently it is synchronised with the Browse window and Comment Editor window, so it can be a useful aid for knowing exactly which image you are currently dealing with.
Again, either use the toolbar button or the View menu option to display this.
To begin with you'll just get this rather uninteresting black window.
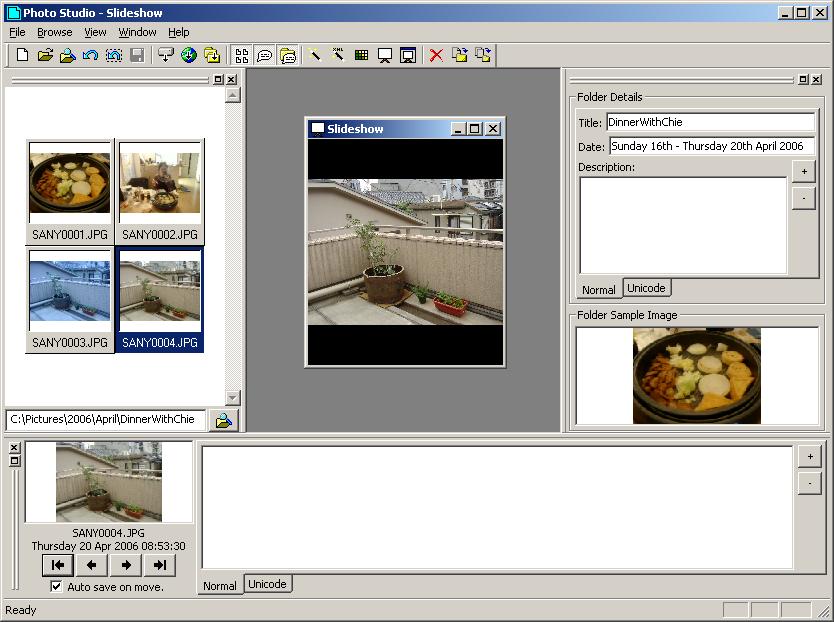
...however, clicking on any thumbnail image in the Browse window will show a larger version in the Slideshow window. You may also notice the Comment Editor window following suit as well.
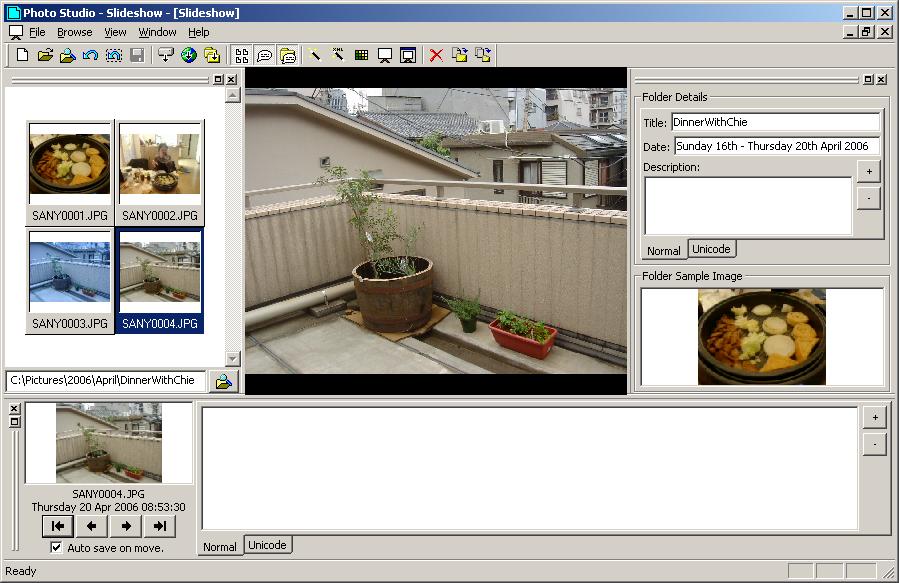
Again, I like to work with docked windows, but it's up to you. So double clicking the caption bar of the Slideshow window should dock it. You've now got all the windows in place, and you're all set up to start editing comments and making web pages!
Rotating Images
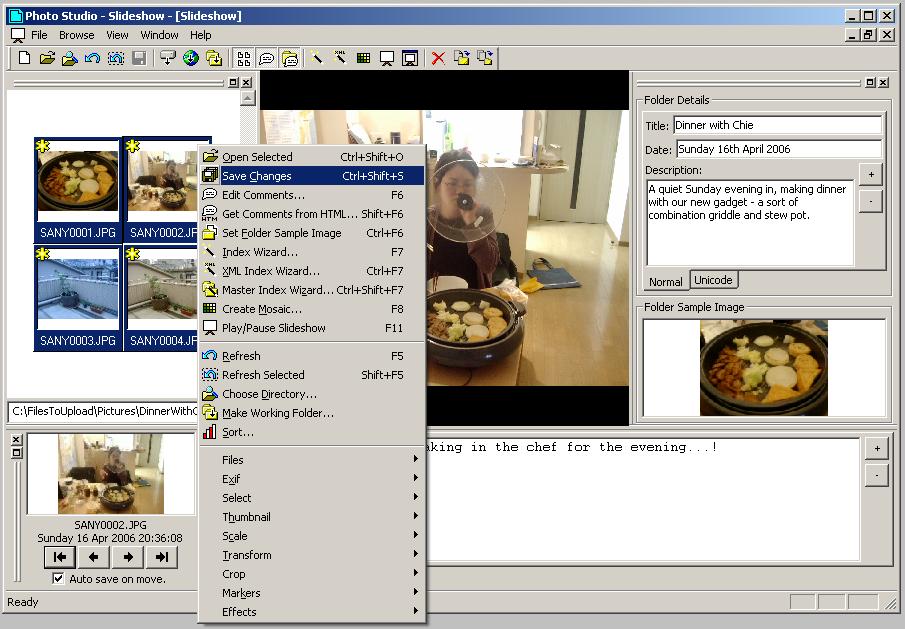
One thing you may want to do at this stage is rotate any images that need rotating (for example, ones that you took in portrait, or for some reason upside down). Right clicking on an image in the Browse window will produce a popup menu, and from here you can choose Transform / Rotate 90 degrees, or whatever transform takes your fancy.
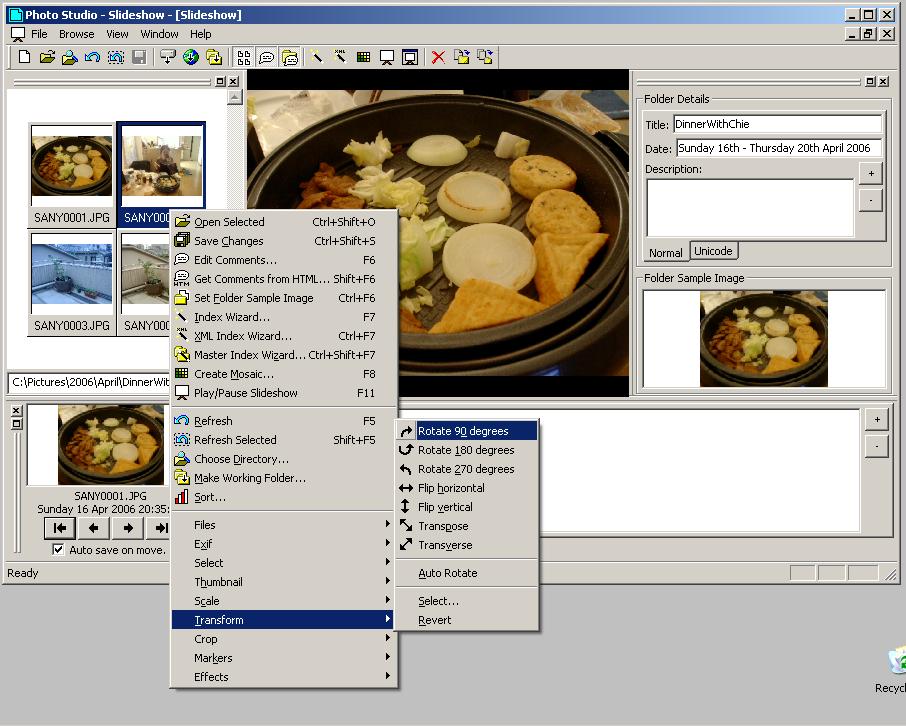
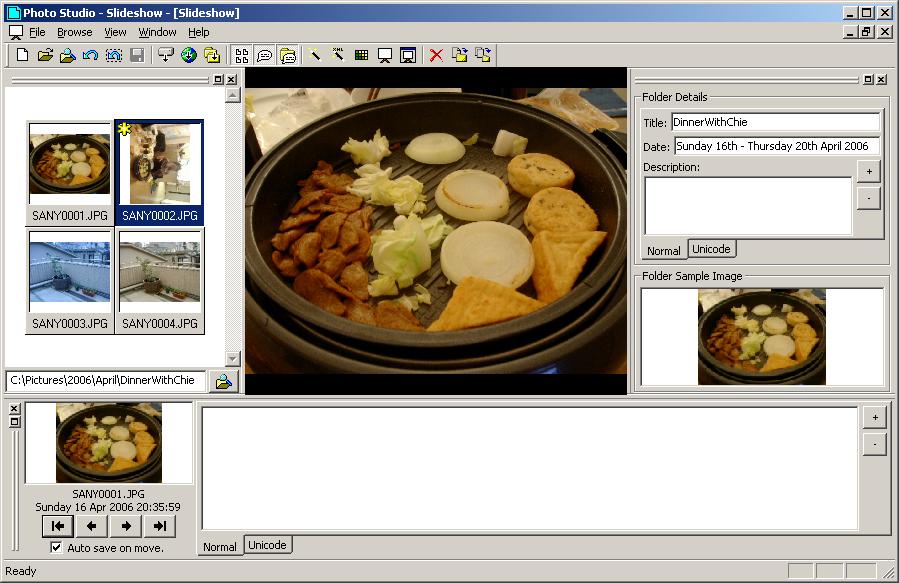
As a result you'll see the thumbnail display in the new rotation, and a little yellow star appear over that thumbnail, to mean it has been modified in some way. Nothing has been written to disk yet though...
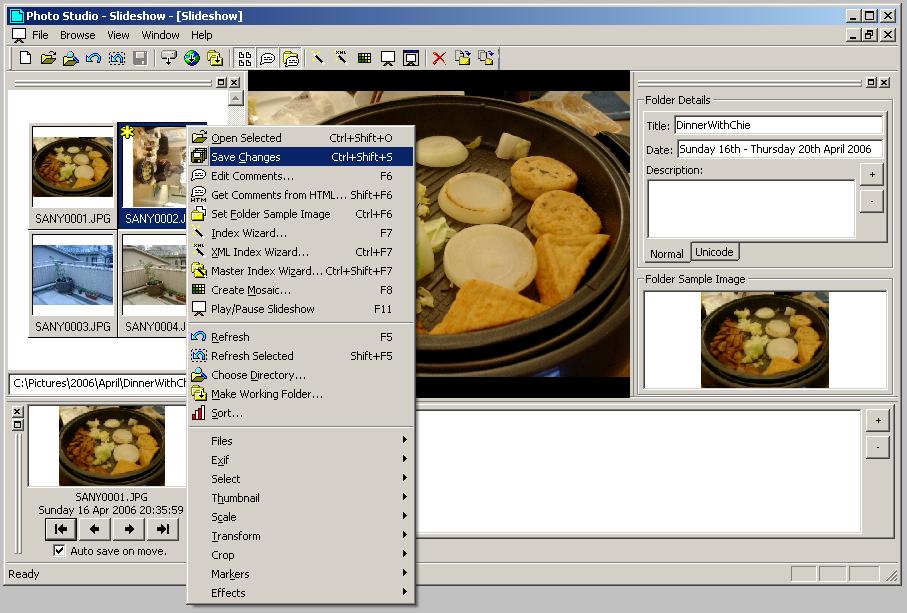
...to save the change to disk, you need to use the popup menu again, and choose "Save Changes". This will now go and actually rotate the image file on disk. Incidentally, by default the program will save your old file with a ".OLD" extension when doing rotations and transforms. You can turn this off though in the preferences.
Saving may take a while if you are doing multiple images, or working with large files. After saving is complete, you should see the little yellow star disappear.
Entering Folder Details
As noted earlier, some of the fields in the Folder Details window will be filled in automatically by Photo Studio the first time you open a folder of images. The title will be taken from the folder name, and the date will be worked out from looking at the EXIF data attached to the images, assuming the images came from a digital camera. The sample image will also be taken as the first file in the folder.
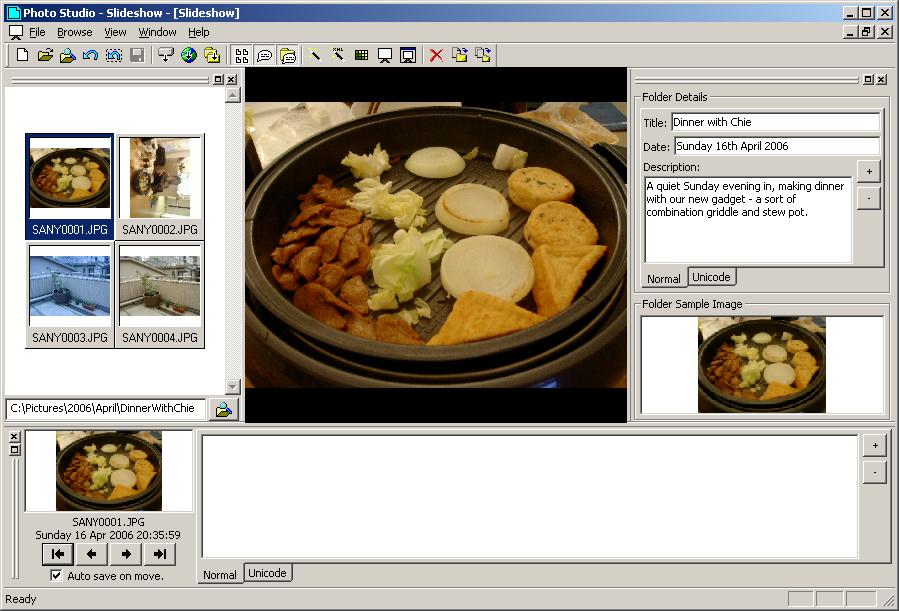
You can now edit the Title, Date and Description fields using the corresponding text boxes.
To set a different sample image for the folder, right click on the image you want to use in the Browse window. In the pop-up menu, choose "Set Folder Sample Image".
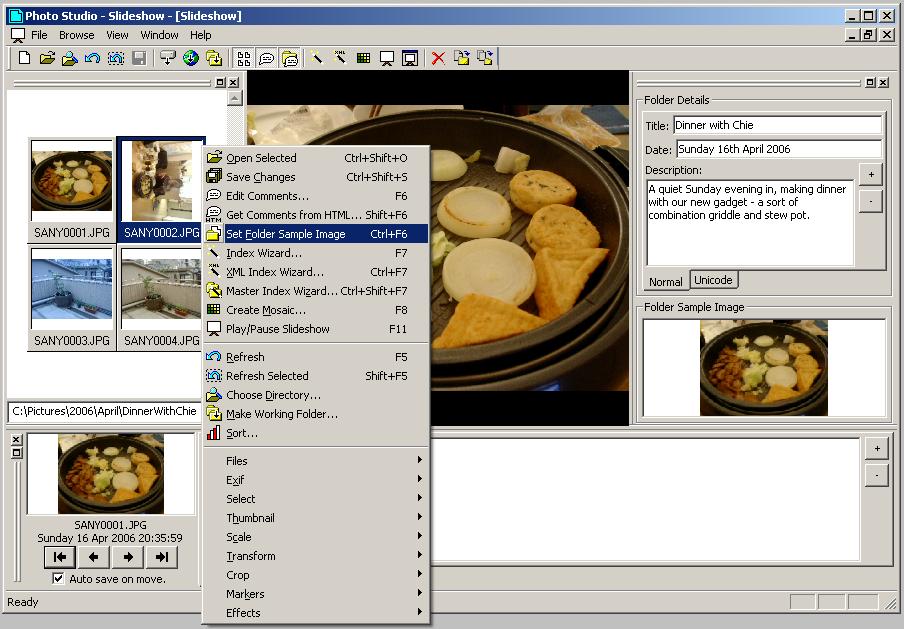
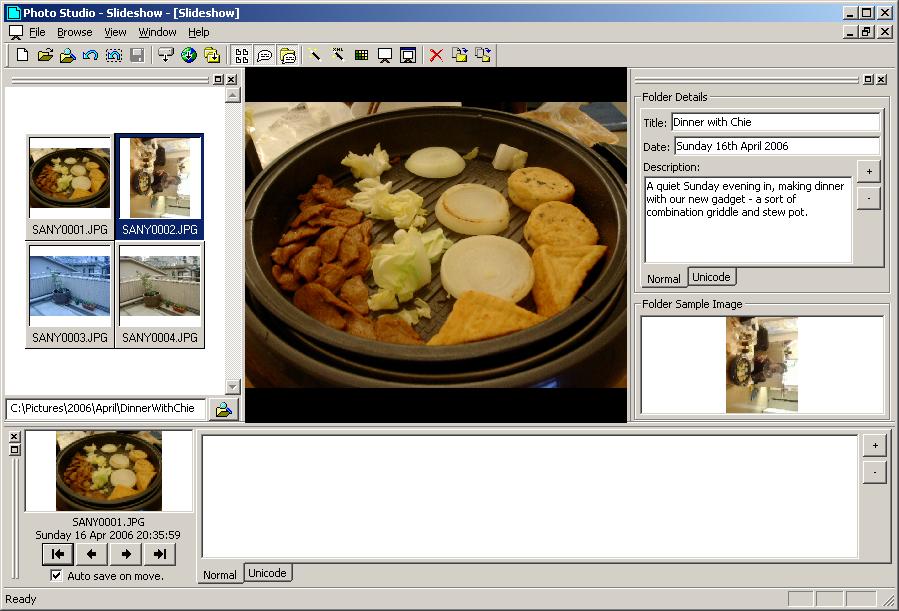
...you should then see the image you selected appear in the "Folder Sample Image" area of the Folder Details window.
How are Folder Details Saved...?
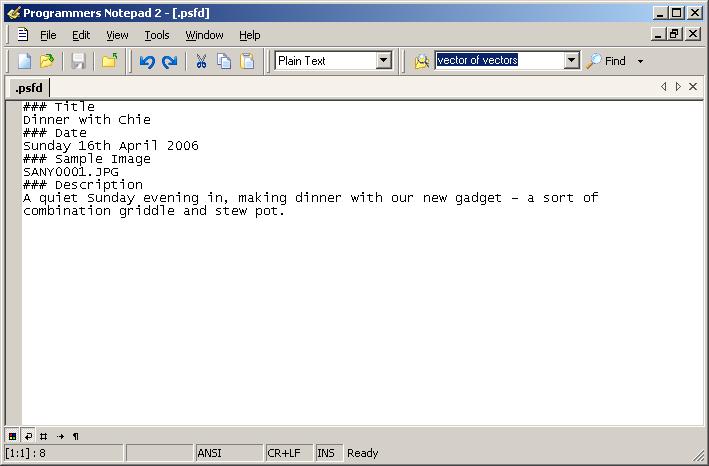
As an aside, you may be wondering how the folder details are saved. Photo Studio puts a small file in each folder it has opened, named ".psfd" (standing for Photo Studio Folder Details, if it wasn't obvious).
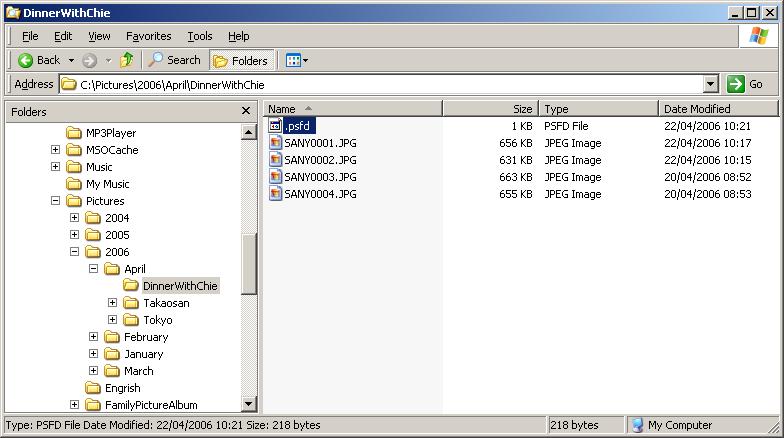
This is actually just a very simple text file, and you can see the contents in any text editor.
Editing Comments
Back in Photo Studio, one of the main tasks to perform when making a set of images to put on the web is to write comments for each image - this is of course optional, but it tends to make for a much more interesting page. This can be quite a time consuming process, so some effort has been put into Photo Studio to make this as efficient as possible.
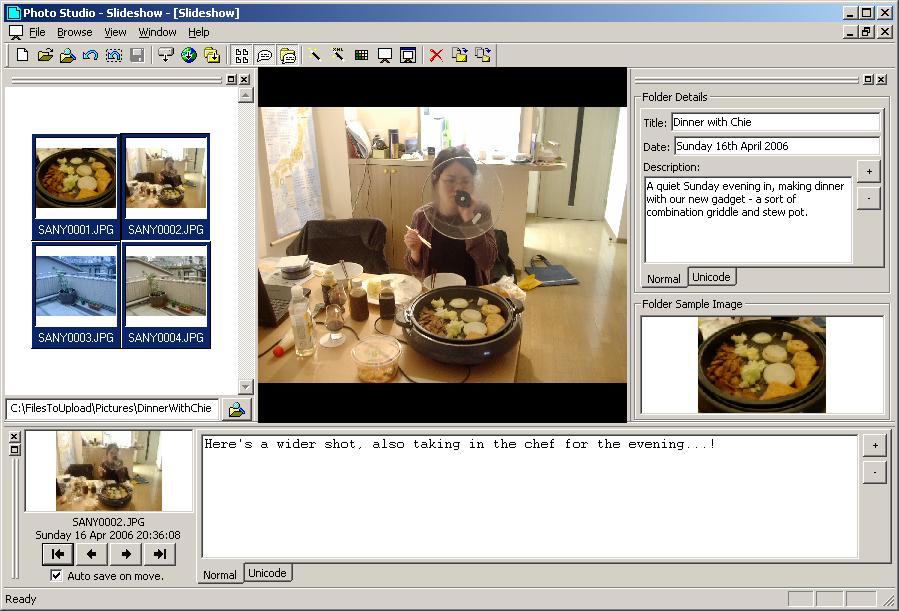
Basically, you juse need to select the image in the Browse window where you want to start editing comments from (typically the first image). As you move the selection in the Browse window, note that the current image in the Comment Editor window also changes.
Click anywhere in the edit box in the Comment Editor window, and type your comment. Notice as soon as you start typing, a little yellow star appear in the corresponding thumbnail in the browse window. This means the image has been modified (in this case the comment has been edited).
Conveniently, the Comment Editor window has an "Auto save on move" check box. When this is checked (as it is by default), the comment will be save whenever you move to another image.
The most convenient way to do this is using the PgUp and PgDn keys on your keyboard. When the edit box in the Browse window has focus (i.e. the cursor is blinking in it), the Page Up and Page down keys will move between previous and next images, saving your comments as you go.

So after writing the first comment, and pressing PgDn, the program then moves onto the next image and you can start writing a comment for that one.

...and you can just keep going through like that. When you get to the last image in the set, remember to hit PgDn again (or move to another image using the navigation buttons in the Comment Editor window) to save that comment, and you'll go back to the start.
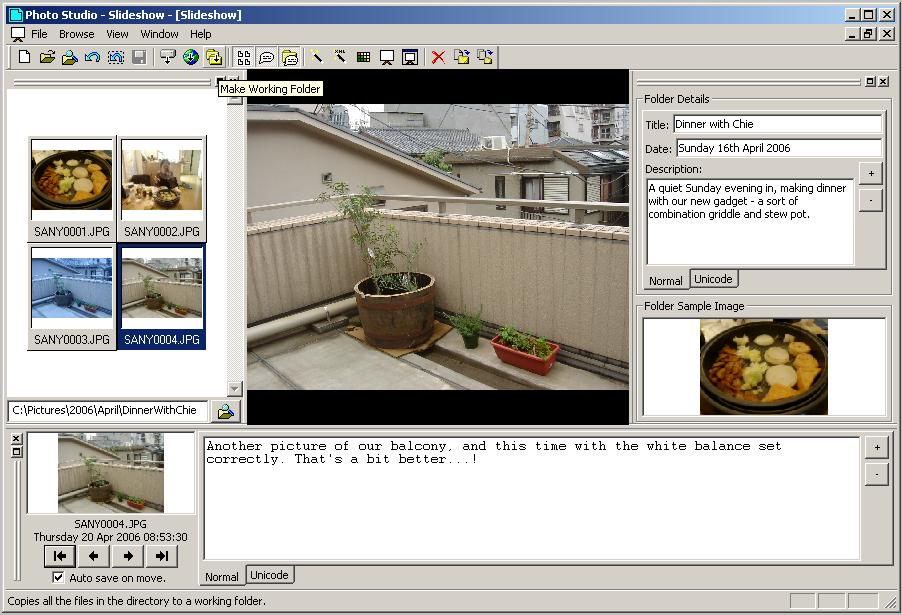
Making a Working Folder
This is an optional step, but strongly recommended. I like to maintain two copies of my images on my hard drive - the originals and a working set (the latter of which will eventually be uploaded to the web). I tend not to edit the originals, apart from anything which is lossless - i.e. does not affect the image quality. So things like rotation and adding comments can be done without any negative impact on the image quality - no image data will be lost. Effectively these sorts of actions can be undone easily at a later date if necessary.
Before uploading to the web though, I generally scale down (or sometimes crop) images, largely just to make the file sizes smaller. As I wouldn't want to scale down or crop my originals, I make a working folder, a complete copy of the whole set which I can scale and crop to my heart's content, safe in the knowledge that the originals are kept safe elsewhere.
Photo Studio has a quick an easy feature to make a working folder, and as usual this can be done via a button on the toolbar.
This window should pop up. You might want to edit the Root Path, depending on how your own directory structure is set up (hey, everyone's different!) You might posibbly also want to change the name for this folder, given that you will be later uploading it to the web (for example, you might want to remove spaces, etc).
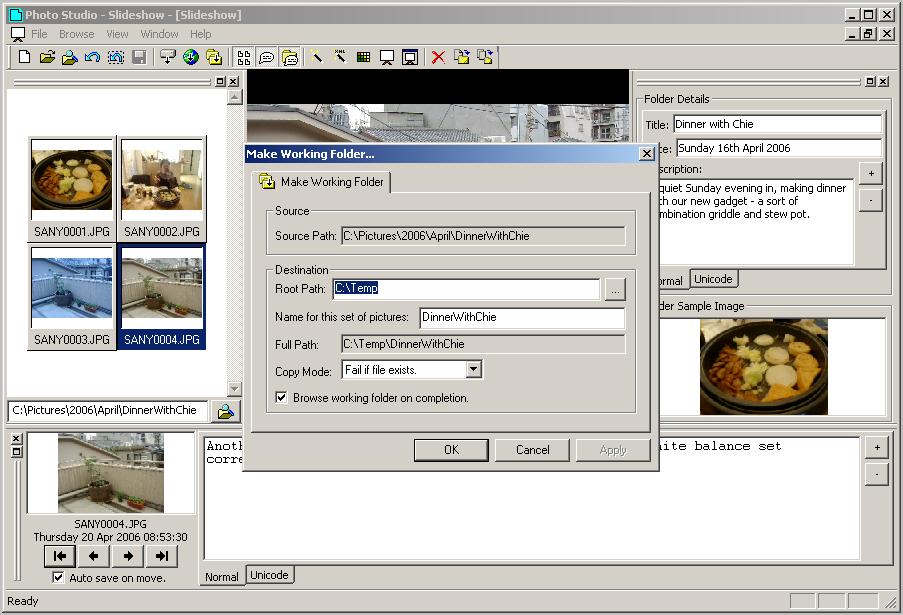
As an example, I've set the root path here to "C:\FilesToUpload\Pictures", but kept the name for this set of pictures the same. The full path of the folder to which your images will be copied is displayed - in this case "C:\FilesToUpload\Pictures\DinnerWithChie". This doesn't have to exist already, Photo Studio will create it for you.

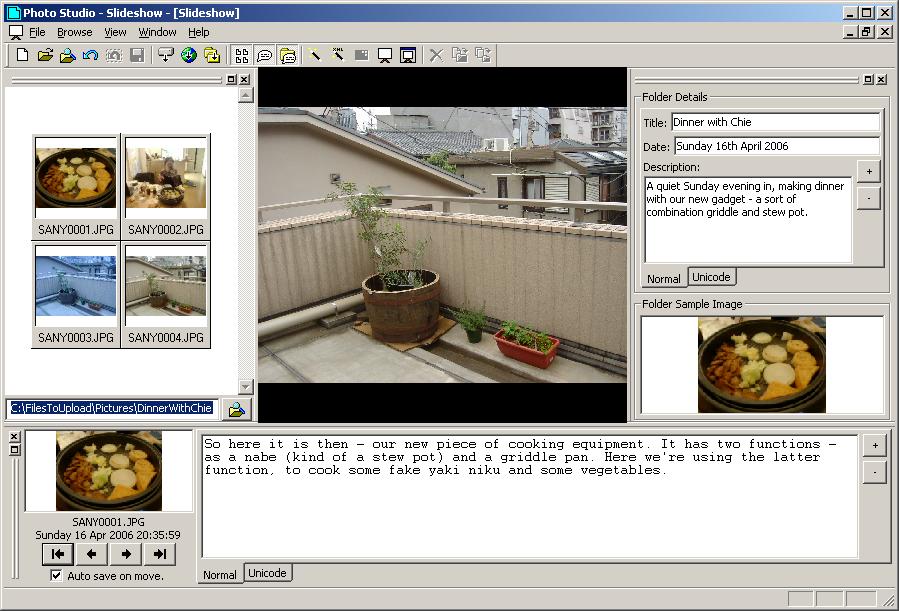
After copying, the Browse window will then load the set of images from the new folder - note the path of the folder has changed.
Resizing/Scaling Images
My camera (which is a bit long in the tooth now) by default takes images at 1600x1200, despite the rise of broadband and so on, I still think this is a bit excessive to upload to the web - files tend to be around 600k each, and so these are still going to take a fair amount of time to download. The chances are your camera is newer and better than mine (!) and so the files are even bigger. Obviously, it's up to you, but I would generally recommend that it's a good idea to downsize your images a bit before uploading.
So this is one of the reasons we're working on a copy, not the originals from here on.. When you scale down images you effectively lose data that you cannot get back, OK?
Anyway, Photo Studio really spoils you in this area, this kind of operation across a whole folder of images can be done in just three clicks. First, you need to select all the images in the browse window. This is done with the usual right click on an image in the browse menu, and then the "Select / All" option from the pop-up menu, as demonstrated here...
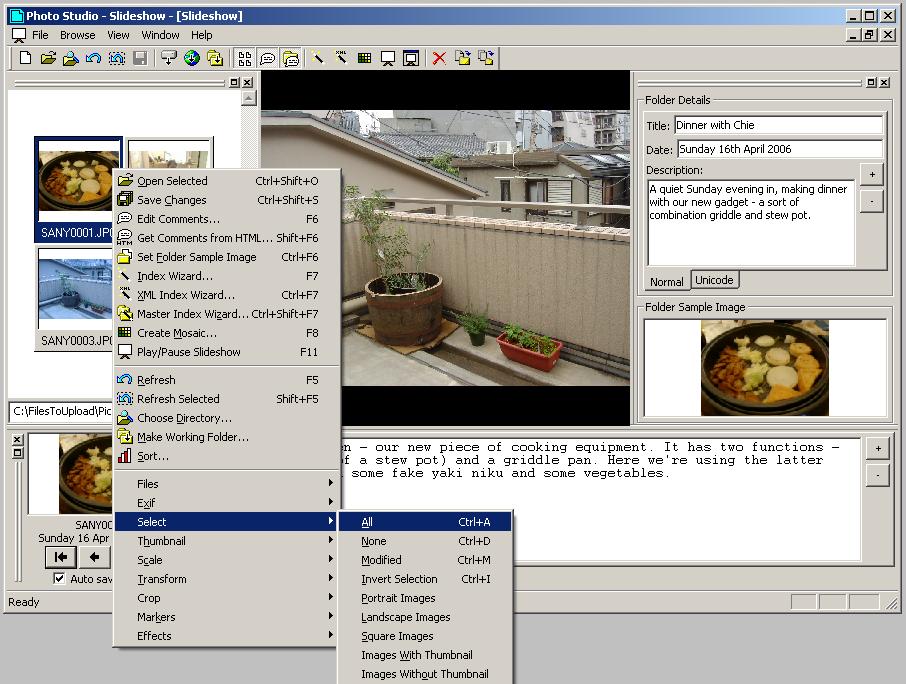
...you should see all of the images have been selected.
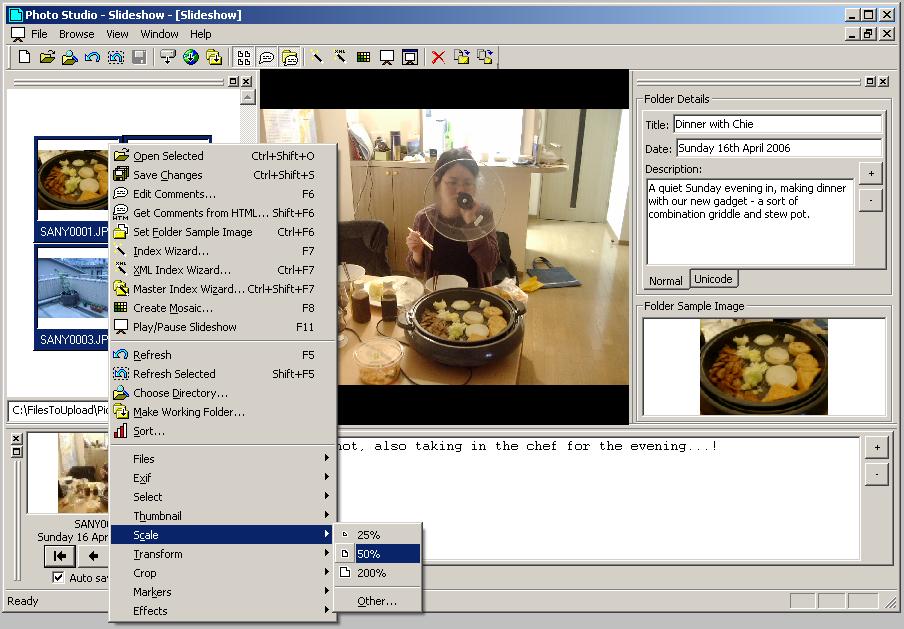
...next, again using the popup menu (or the Browse menu if you prefer), choose "Scale / 50%", or whatever the particular factor is you want to scale by.
To illustrate, my camera generally takes pictures at a resolution of 1600 x 1200, Scaling by 50% will reduce both of these dimensions by half, so the resulting images will be 800 x 600, and the resulting file sizes will typically be about a quarter of the size of the originals, more or less.
(Incidentally, advanced users might want to adjust the JPEG quality setting in preferences to fine tune the output file size from lossy operations like scaling).
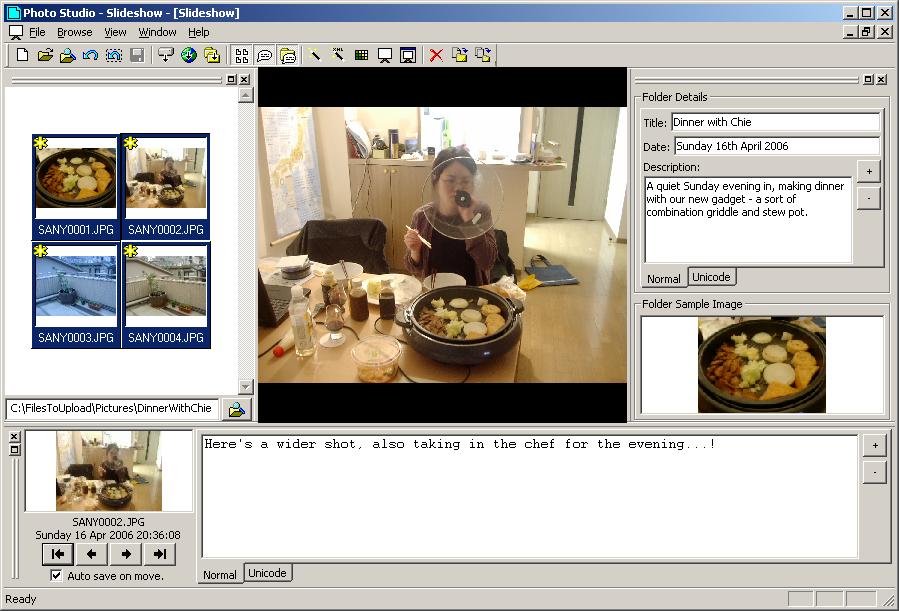
You'll see the usual little yellow stars appearing on all the images that you've selected for scaling. Nothing has been written to the actual files yet...
...so as before, you need to choose "Save Changes" before the actual writing to the files will happen. This may take a while if there are lots of images and large file sizes to deal with. Please be patient!
Creating the HTML Index Page
Finally, we're in a position to be able to generate an HTML index page. As always, you can get to this feature via a button on the toolbar, and there's also an option in the menu.
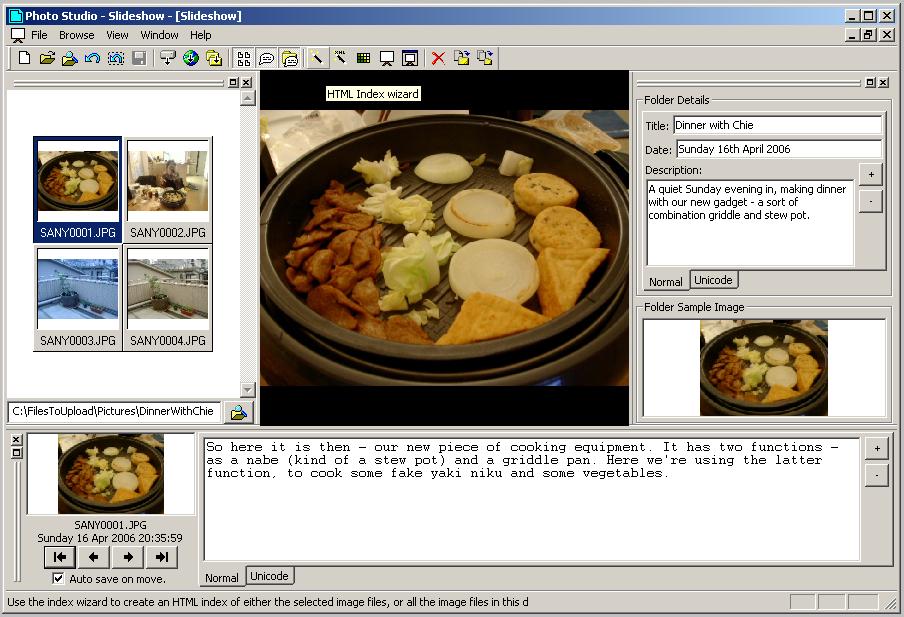
Here's the Index Wizard which should popup.
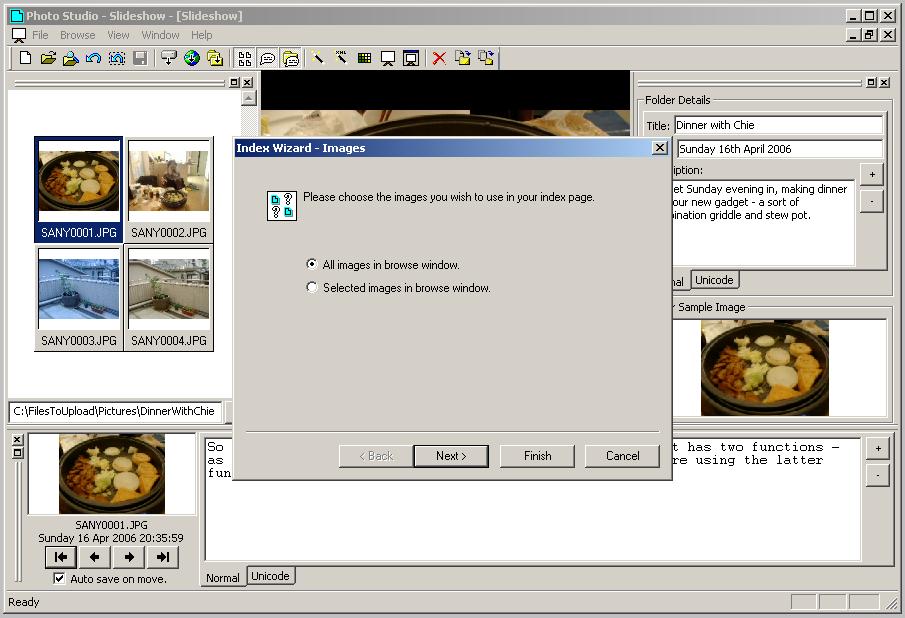
Let's go through each of the screens in sequence. The first one lets you chose which images you want to include in your index - most of the time you'll want to use all images in the browse window (i.e. all images in the current folder). This is the default.
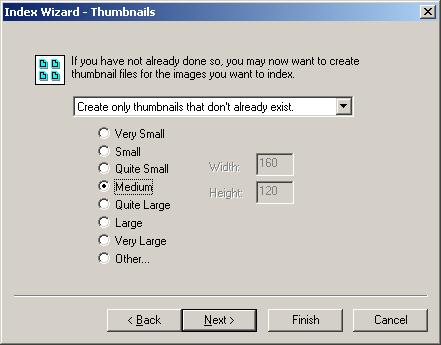
The wizard will also create little thumbnail image files for you (you really are being spoiled you know). Here you can change the size of these thumbnail images. The dropdown list lets you choose when to create thumbnail files - you might run through this wizard several times, and as thumbnail generation takes a bit of time, you might not want to redo this every time. For the first time anyway, you can just stick with the default.
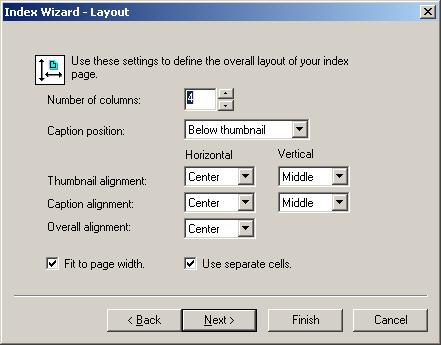
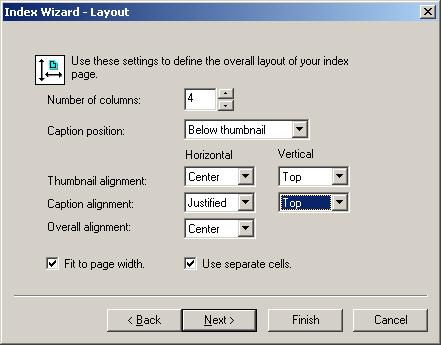
Some layout properties - for the first shot let's just stick with the defaults.
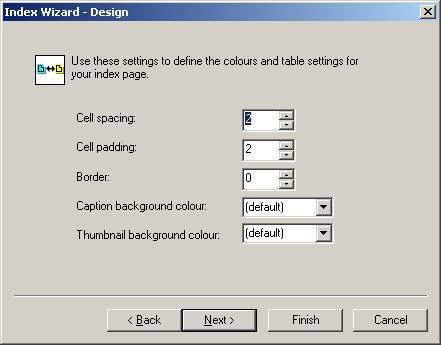
More layout/design properties, again, let's just stick with the defaults.
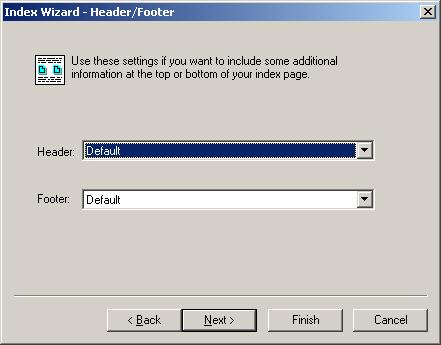
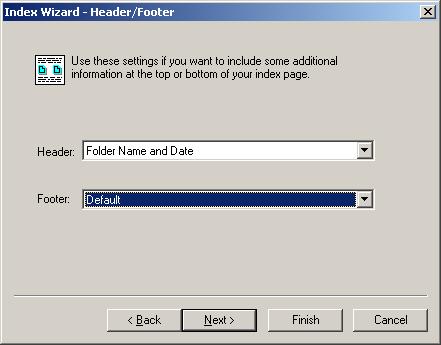
Here you can specify what you want at the header and footer of your index page. This will let you also specify your own files - so you can add in your own snippets of HTML at the top and bottom.
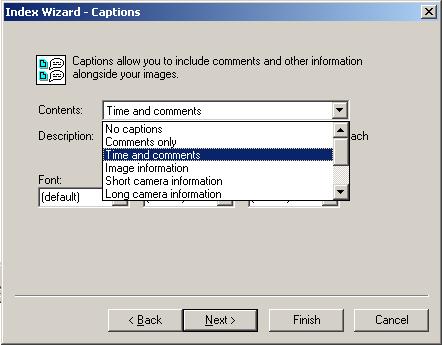
The next page determines what the captions associated with each image will contain - the default is "No captions", but we probably want to change this to "Time and comments".
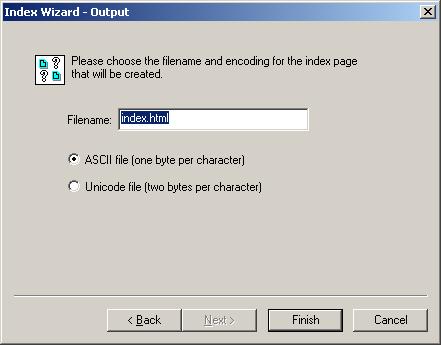
Finally (gasp!) the last page lets you determine the output filename - "index.html" is a good default - and some stuff about encoding that you can just ignore for now.
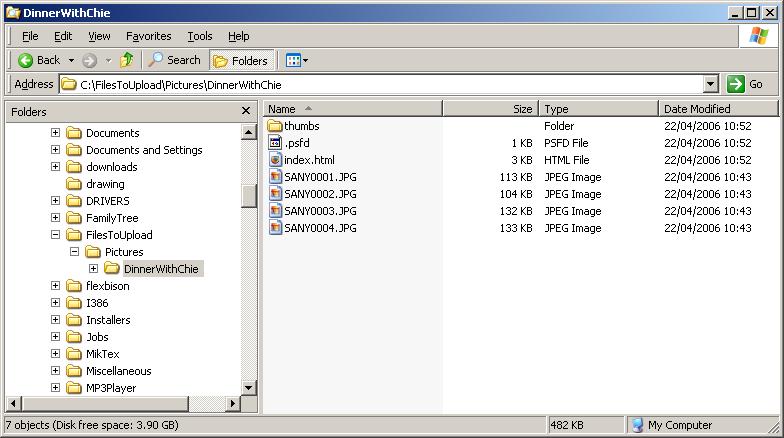
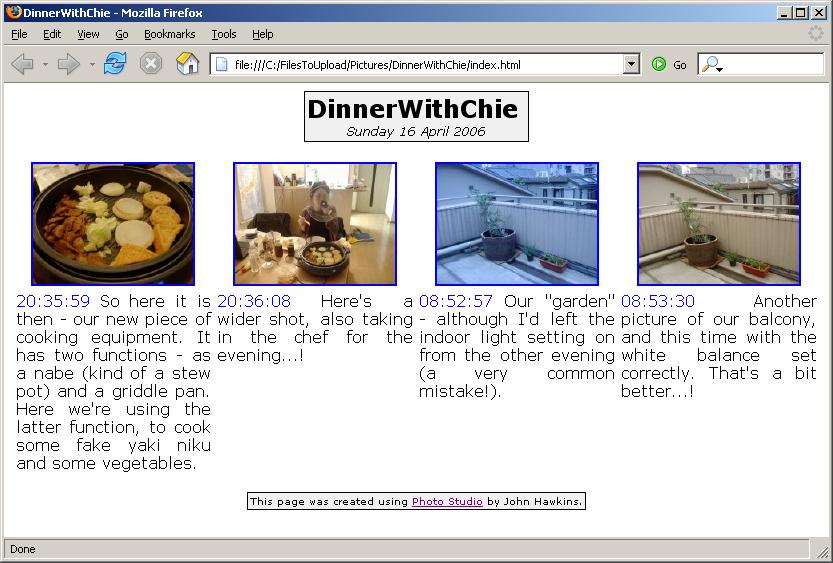
The wizard will then generate your HTML index page and thumbnails for you. It may look as if nothing has happened, so you'll need to go and look in the folder (using Explorer or whatever), and there you should find an "index.html" file and a thumbs directory.
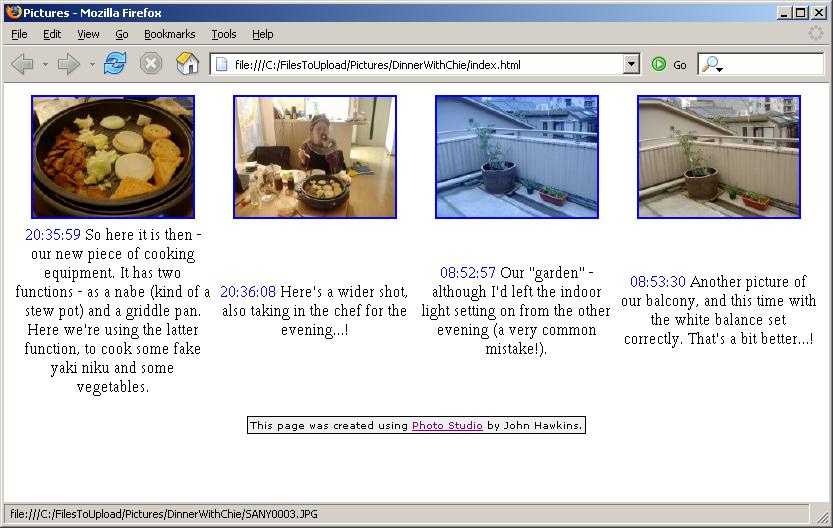
So double click on the "index.html" and you should see your new HTML index page in a web browser. OK well, the first attempt may not be the most elegant web page you've ever seen, but you can now go back through the wizard again and customise it a bit...
So, I'm changing the alignment of some of the elements here...
...plus adding in a header...
...and changing the font to Verdana...

...and after finishing the wizard, and hitting refresh in my web browser, it looks like this. Still not quite the most elegant page you'll have ever seen, but put in a custom header and footer, and fiddle about with some of the other settings, and you can have something you really feel proud of.
Uploading to the Web
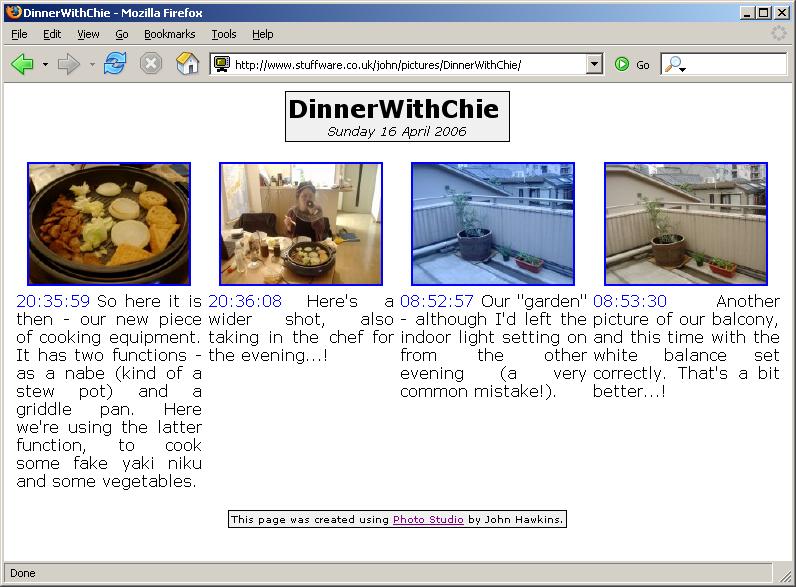
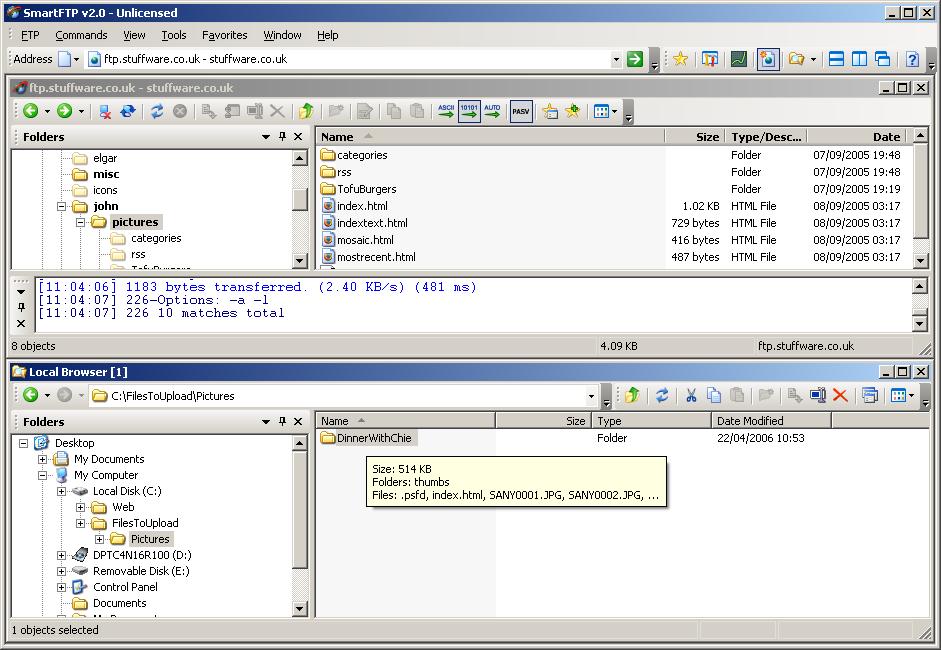
FTP is of course a bit beyond the scope of this walkthrough, but in a nutshell, you want to use your favourite FTP client (I like SmartFTP) to upload the whole directory of images onto your website. So here I'm uploading "C:\FilesToUpload\Pictures\DinnerWithChie" onto my website under "/john/pictures/" - so the resulting path on the web comes out as http://www.stuffware.co.uk/john/pictures/DinnerWithChie/.
Using Stuffware Picture Manager
For most users the walkthrough is at an end now, but for completeness, I'm going to add on a few notes about how to go the last mile using SPM, if you happen to have this running on your website.
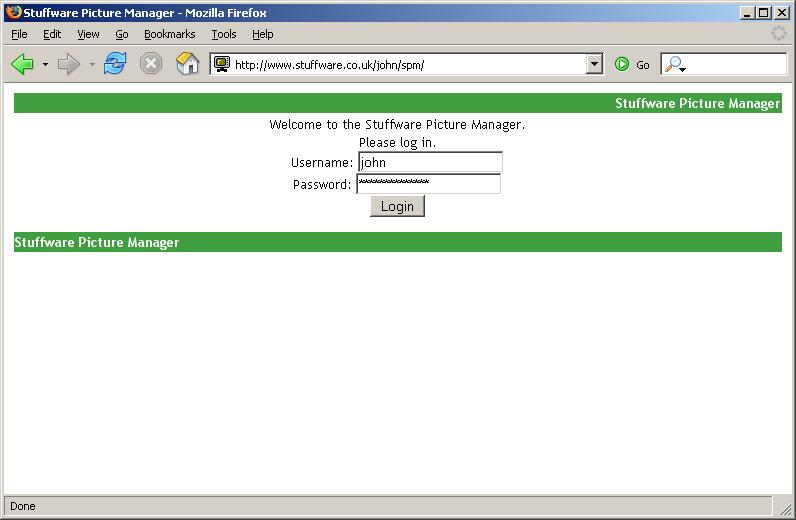
So, after going through the above steps, we've now get our folder of images uploaded onto our website. So now we want to update our site to add links to this new set of images, etc. Well, first off you need to log in...
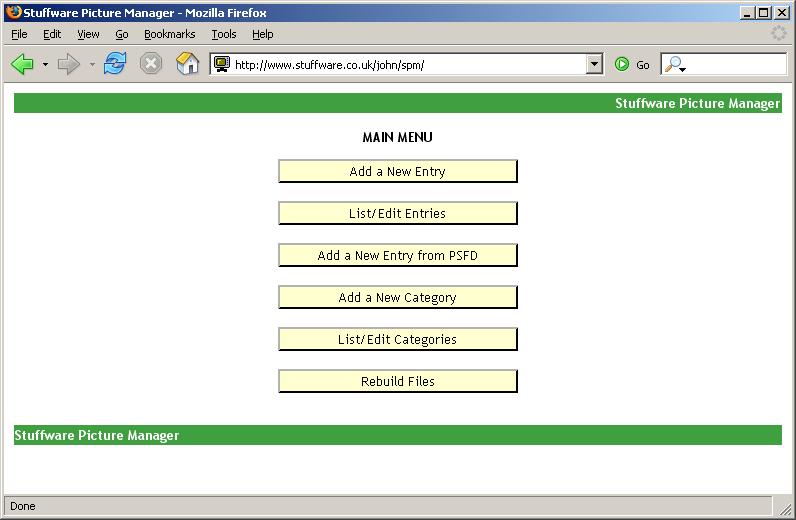
Here's the main menu, from here, assuming you have used Photo Studio, you can choose "Add a New Entry from PSFD".
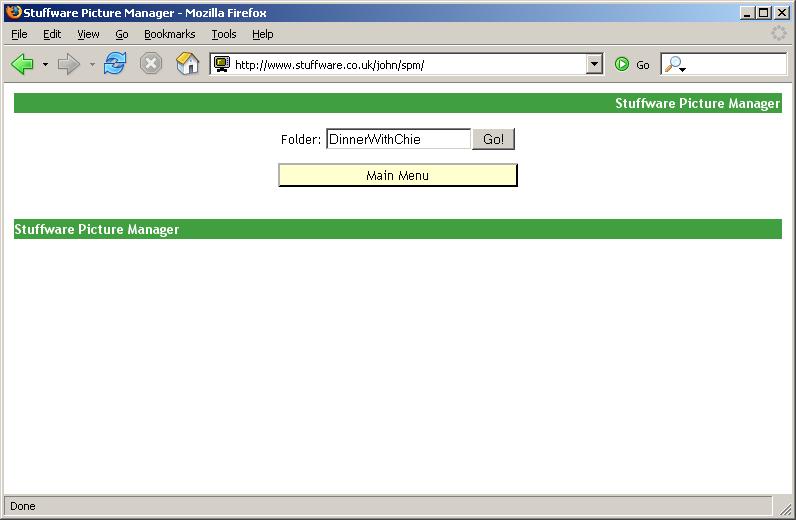
...and you'll get this screen. Here I just under the name of my folder of images - in this case "DinnerWithChie".
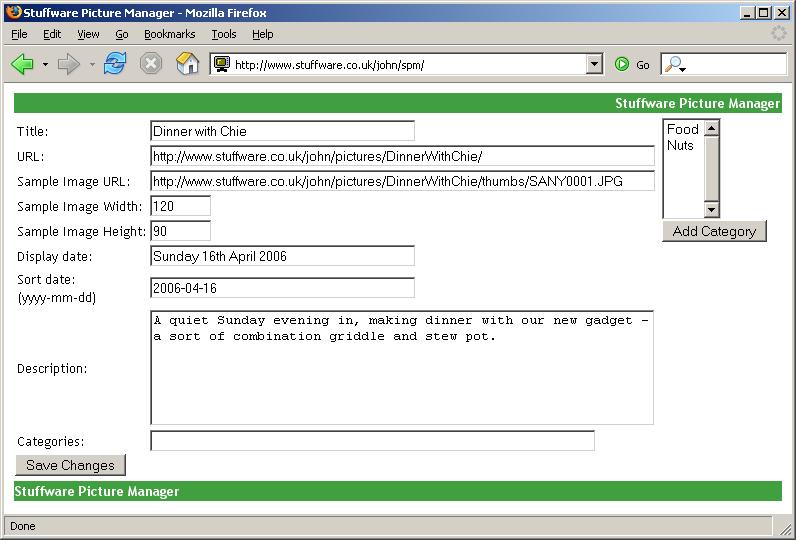
SPM then goes and reads the .PSFD file to fill out some of the fields for you.

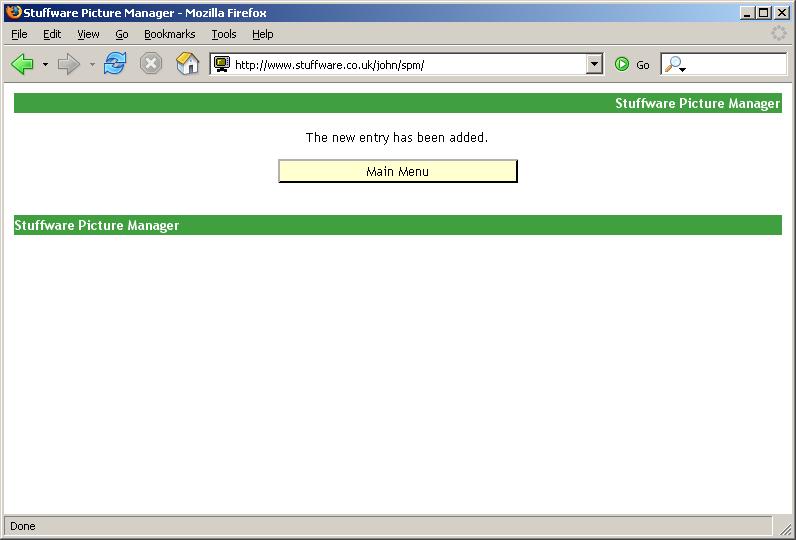
All that you need to fill in yourself is the sort date field - this should take the format "yyyy-mm-dd". Once you're happy, you can click "Save Changes"...
You should then get this confirmation screen, and from here you can go back to the main menu.
You might want to choose "Rebuild Files" from the main menu, which will give you this confirmation screen.
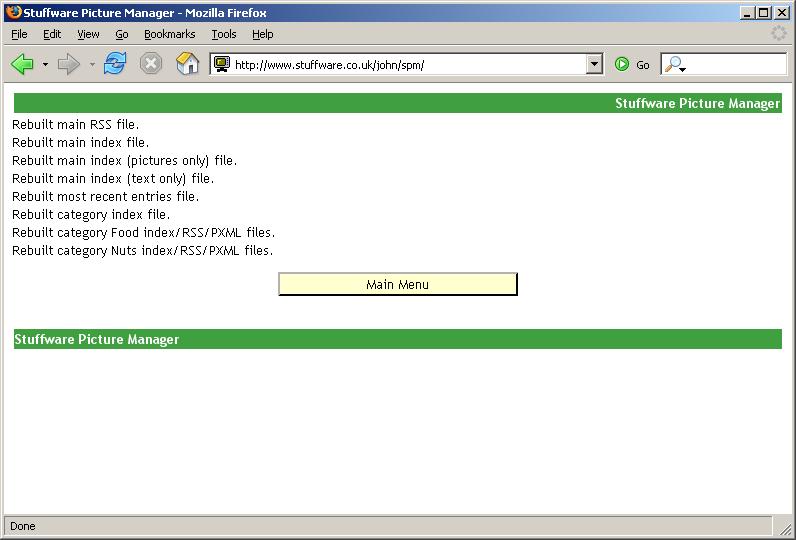
You should now see the relevant pages on your site updated automatically...
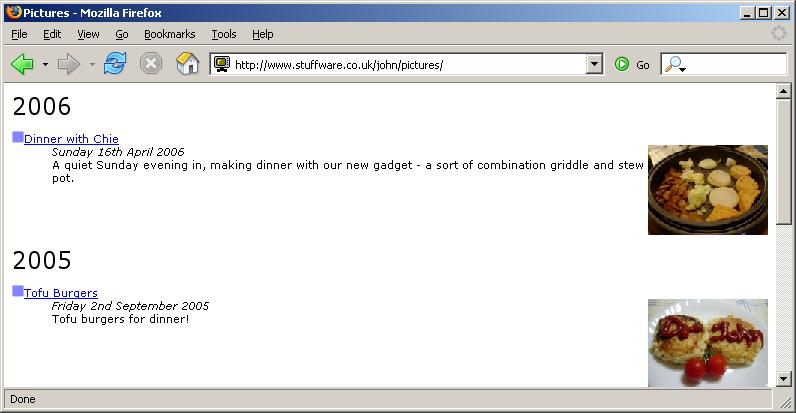
...and clicking on the link should take you to the new pictures page on your site.